Anonymous Relay when transitioning from 2010 to 2016

I recently worked on a project where my customer had a load balanced vip for SMTP. There were two Exchange 2010 cas-hub servers included in the vip. And the 2010 servers had a relay connector for anonymous access configured for applications like scan to email and HR applications. So how do we move this service to our lovely new Exchange 2016 servers.

  1. Create the fronted transport service relay connectors on both Exchange 2016 servers called ‘Relay’
  2. Then run this script to copy all of the relay ips to the new Exchange 2016 relay connectors
    Credit:https://gallery.technet.microsoft.com/office/Copy-a-receive-connector-b20b9bef
  3. Then on Exchange 2016 server 1 we run these commands
    Servers are contso1 & contoso2
    Set-ReceiveConnector “contso1\Relay” -PermissionGroups AnonymousUsers,Exchangeservers -DomainController FSMO DCGet-ReceiveConnector “contso1\Relay” | Add-ADPermission -User ‘NT AUTHORITY\Anonymous Logon’ -ExtendedRights MS-Exch-SMTP-Accept-Any-Recipient -DomainController FSMO DCSet-ReceiveConnector “contso2\Relay” -PermissionGroups AnonymousUsers,Exchangeservers -DomainController FSMO DCGet-ReceiveConnector “contso2\Relay” | Add-ADPermission -User ‘NT AUTHORITY\Anonymous Logon’ -ExtendedRights MS-Exch-SMTP-Accept-Any-Recipient -DomainController FSMO DC
  4. Add a server IP like the ad connect server into the relay connector scope on both contoso1 and contoso2
  5. Then run this command from the AD Connect server to each of the Contoso servers
    telnet SMTP VIP 25
    Helo
    mail from:sean@contoso.com
    rcpt to:sean.ofarrell@yahoooooo.com
    data
    Test from Sean.
  6. Once the email comes through we can then remove the Exchange 2010 server from the SMTP VIP and disable the relay connector on the Exchange 2010 servers.

Finally a lot of my customers do not trust Exchange Online Protection and use services like Mimecast , Proofpoint, Cisco Cloud Email Security and once the SPF records for the domains matches the service it can normally be much easier to set up smtp relay via these saas services.

Exchange On-Premise Mailbox will not MIGRATE

I recently encountered an issue which I have seen before but never this bad and more commonly with Public Folders. My customer had a 50GB mailbox that also had an archive mailbox. The mailbox would get so far and just stall and never complete.

So I tried all of some of the usual methods to repair the mailbox to no avail.
Repair the mailbox with PowerShell & Migrate the mailbox to another Exchange database

So we asked the customer could we review the mailbox and found thousands of folder in the format of 16/04/2019. Exchange does not like / , Exchange normally sees / as the top of the information store. So my first attempt to resolve this was powershell and could not seem to crack it. Thanks to my colleague Mark Doyle  ,We resolved this issue with an Outlook Macro.

So if you ever encounter this unique issue , Please follow these steps.

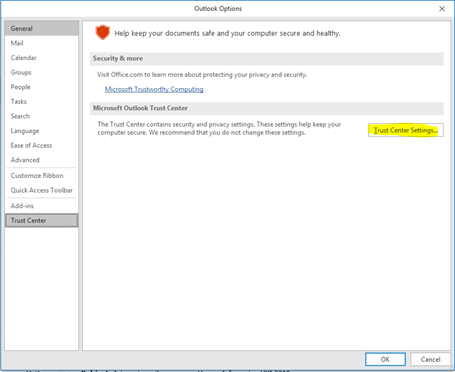
  1. Browse to the Outlook Trust Center
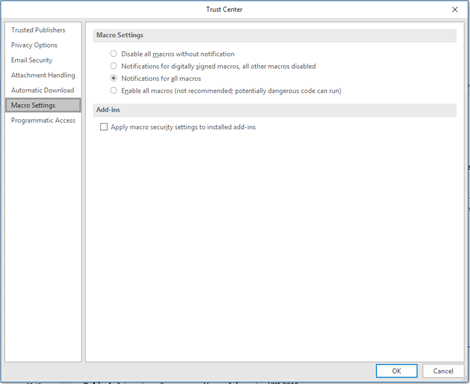
  2. Macro Settings, Select Notifications for all Macros
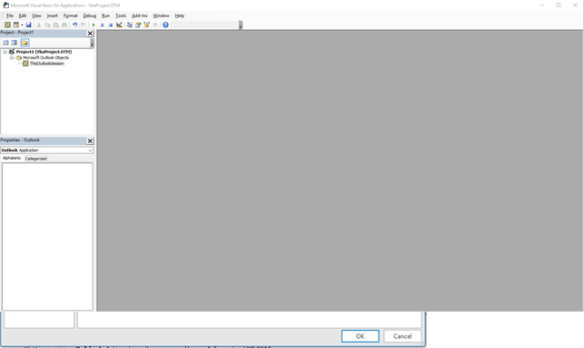
  3. Press Alt + F11 to open Visual Basic
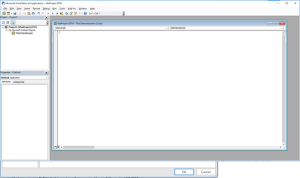
  4. Double click “This Outlook Session” under Microsoft Outlook Objects
  5. Paste  this TEXT below into the window
  6. Click on the folder or inbox that you want , And run the Macro
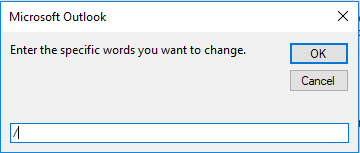
  7. Input character we want to replace in this case will be /
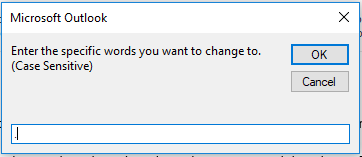
  8. Then select . as the replacement character
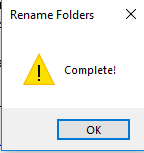
  9. Finally task complete

Final Comment

This is in no means an enterprise solution and I asked Microsoft for help and didn’t get anywhere. Once we removed the / , We could see when checking get-moverequeststatistics (mailbox) , that it was getting past the ‘create folder hierarchy’ stage in a mailbox move. And we did not need to tell our customer , Sorry this mailbox cannot be migrated!

Dell Migrator for Notes to Exchange – Admin Pool

As of from yesterday 30.01.15 , The admin pool feature stopped working.

To resolve this issue , assign a license to all the admin pool accounts.

Also I noticed that I could configure /adjust the Office 365 PowerShell Throttling in the MFNE console. So to Resolve this perform the following steps.


1.) Open the MNE Migration Manager.
2.) Click the Menu button in the upper right and select Global Default Settings.
3.) In the text file that opens, save the copy of current Global Default Setting, and locate the [PowerShell] heading.
4.) Remove the [PowerShell] heading and all values directly beneath it.
5.) Save and Close the file.
6.) Exit the MNE Migration Manager.
7.) Open the MNE Migration Manager and try configuring the Office 365 PowerShell Throttling settings again. You can also refer to the following KB article:


Quest on Demand Email Migration to Office365

I do not mean to sound like a Quest Sales Man , But this product from Quest truly is a super product.

It allows you to migrate email from the following sources.

Microsoft Exchange 2000/2003/2007/2010
IMAP
Lotus Notes
Microsoft Bpos
Microsoft Live@edu
Microsoft Office365
Novell Groupwise
Sun One / iPlanet
Pop
Windows Live Hotmail

You can then migrate to the following targets

Microsoft Exchange 2010/2013
Office365
Microsoft Live@edu

So why would you use this service?

A couple of reasons, It is hosted in Windows Azure and can allow for zero touch migrations.Exchange 2007 messaging platforms upwards give us the ability to implement hybrid environments which can then create a platform which will allow rich co-existence and migration.

Its a hell of a lot cheaper than the full email migration products from quest.

It can migrate from Lotus Notes!!!

I have worked on quite a few corporate companies that  acquire companies. Extracting email from a business first before an AD consolidation project makes the AD consolidation project a lot easier and a tool like this allows zero touch email extraction into a companies own on-premise exchange messaging environment or into my preferred platform Office365.

I have taken some screen shots of how easy the wizard is to begin a migration. In this example I   wanted to migrate from Exchange 2010 to Office365 wave15. So before I did that , I created an application impersonation role in the exchange 2010 on-premise environment and one in the Office365 environment.

After that we sign into the Quest On Demand Portal HERE

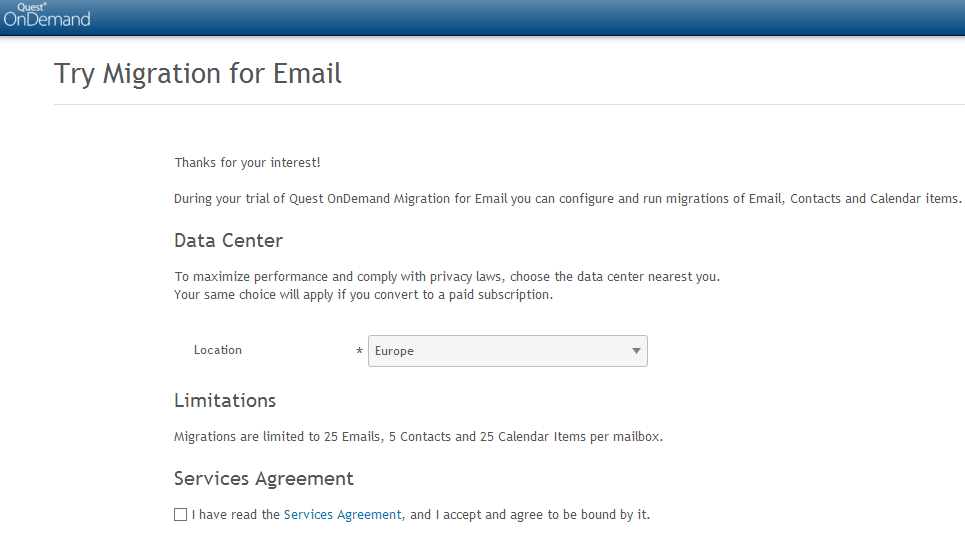
Then agree to the service’s agreement and select your data center location.

Then create a Migration Plan. There are four simple steps.

  1. Connect to the email services
  2. Import Mailboxes
  3. Choose what to migrate
  4. Migrate
On the connections tab you connect to the source exchange 2010 messaging platform and enter the credentials of an account that has the application impersonation. There is a test connection tab to verify connectivity.

Then you connect to the target , in this case Office365. You will need to add an exchange license to the office365 account in order to make it a member of the application impersonation group. Microsoft throttle the amount of data that can be migrated into Office365. So you can add multiple accounts for the target to increase migration throughput.

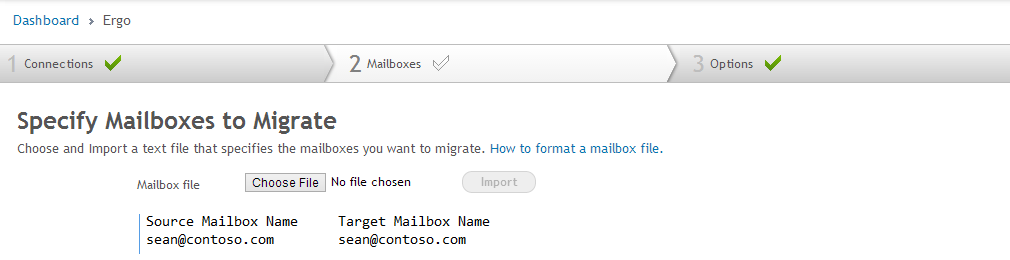
In section 2 you specify the source and target mailbox which is populated by a simple text file.
You then select what to migrate.

Finally you begin migration.

And once all the mail has been extracted from the business and when the ad consolidation project has been complete , you can refer to one of my previous blogs HERE on how to convert existing Office365 users to federated users.

Quest NME migrations with Exchange Online Wave 15

I have done quite a few Lotus Notes to Exchange online migrations using Quest’s Notes for Exchange migration toolkit.

One of my favorite features is the admin pool. 

So what is the admin pool? The admin pool creates a pool of global administrators that can be used for migrations as Microsoft throttle the amount of data that can be migrated per user name. An example of an admin pool is displayed below.


This feature works great when migrating to a Wave 14 Exchange online tenant but not so well when migrating to a Wave 15 tenant.If you want to use an admin pool to migrate to a wave 15 you need to submit a service request to Microsoft and below is an extract with the instructions from Quest.

Microsoft has informed our Product Team that they are changing the procedure for requesting exemption to the PowerShell throttling.
Each Tenant Admin, as an Office365 customer, please submit a service request individually. Microsoft would like to receive requests directly from the Tenant Admin.
The Tenant Admin should open a service request and reference “Bemis Article: 2835021”.  The Microsoft Product Group would also need following information in the request:
1.     The tenant domain (tenant.onmicrosoft.com)
2.     The version of Exchange (These requests should all be for Wave15)
3.     The number of mailboxes that are being migrated
4.     The number of concurrent admins accounts that will be used for the migration
5.     The number of concurrent threads that will be in use
6.     The number of runSpaces will be created per minute
7.     The proposed limit (powershellMaxTenantRunspaces, powershellMaxConcurrency, etc.) and number to increase the limit to
For items 6 and 7, Tenant Admin may probably need to take the total number of threads across all migration machines that you plan to use and add a buffer because it is not easy to know in advance how the timing of the runSpaces will occur.
As a result, it may be safe to assume that  all potential runSpaces could be created within a minute, so 6 & 7 should probably both be submitted as the total number.
More Information About # 6 & 7
If there are 5 migration consoles designated for the migration and running 3 threads each, it is safe to assume that you may have 15 runSpaces created per minute.
In case of you may decide to increase threads or add migration consoles later, even it is safe to assume that you may have 15 runSpaces per minute, to provide a buffer, you may want to ask 25 or 50 (each)  powershellMaxTenantRunspaces, powershellMaxConcurrency, etc. 

Microsoft will only do this for a minimum of 1000 users that are migrating to Exchange online. 

So the way I got around it was by doing the following.In this instance there were 3 nme migration machines.

  1. Create New-ManagementRoleAssignment -Role “ApplicationImpersonation” –User admin@contoso.onmicrosoft.com
  2. Then create 3 nmeadmin accounts and assign an exchange online license to each account.
    nmeadmin1@contoso.onmicrosoft.com
    nmeadmin2@contoso.onmicrosoft.com
    nmeadmin3@contoso.onmicrosoft.com
  3. Install the Windows Azure Directory module for powershell on each nme machine which you can download HERE
  4. Create an Admin Role called Quest , add in the following roles
    Application Impersonation & Migration
    as per the image below
  5.  Add the 3 nmeadmin accounts as members to this role.
  6. Add the 3 nmeadmin accounts as members to the Organization Management – Admin Role
  7. On each of the nmeadmin machines configure an Outlook client for each of the nemadmin accounts. So one account per machine and do not enable caching.
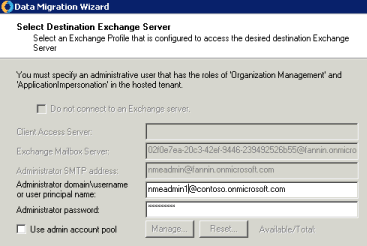
  8. So when you come to the point of migrating enter nmeadmin1 credentials into the migration wizard on machine1 , nmeadmin2 credentials on machine2 and nmeadmin3 credentials on machine 3 as per the image below.
This will then allow you to migrate from Lotus notes to Exchange online wave 15. I am sure Quest will resolve the admin pool issue as it is such a cool feature and really speeds up for migrations.

At the time of writing this post this relates to Quest NME version 4.7.0.82 displayed below.