eDiscovery for Exchange Online Data at Rest

  • It is not possible to search for sensitive information types when selecting Exchange Online mailboxes as the data source , Office 365 User Voice REQUEST
  • It is possible to search for the items specified in this Microsoft ARTICLE and via KeyWord

The screen shot below is from an Office365 E5 Advanced eDiscovery query that shows these types of searches are not supported

LETS HOPE MICROSOFT RESOLVE THIS ONE!

Office365 & AIP Sensitive Information Types

  • Sensitive Information Types defined in Azure Information Protection are not visible in the Office365 Security Center
  • Sensitive Information Types defined in the Office365 Security and Compliance center are not visible in Azure Information Protection
  • So this means sensitive information types need to be defined in each service.
  • @MSignite2018 Microsoft announced a change in search technology in Exchange Online and Exchange 2019 , they will now use Bing technology. The front end of the Office365 Security and Compliance Center seems to be using SharePoint search technology. I would love Microsoft to enable Exchange Online, AIP, & Sharepoint Online to use the same search technology used in Azure Log Analytics.
  • Microsoft state that when creating custom sensitive information types via an XML file and then importing them into the Security and Compliance center that it is not possible to have multiple regex values. It is possible to combine multiple regex values by using the PIPE value |. When combining multiple regex values , they can be tested in Office365 and in RegEx101.com
  • Using multiple regex values in AIP can also be combined by using the PIPE value |
  • This is an example of a regex for different pattern types for Irish mobile phone numbers that could be used in the Security and Compliance center GUI or the AIP GUI when defining regex sensitive information types.
    08[3|5|6|7|8|9]\d{7}|3538[3|5|6|7|8|9]\d{7}|003538[3|5|6|7|8|9]\d{7},
    notice the | that defines the different type of patterns.

Azure Privileged Identity Management – Office365 Roles

Privileged Identity Management is an amazing new service that Microsoft has made available via the following licensing skus.

  • Enterprise Mobility + Security (EMS) E5
  • Microsoft 365 M5
  • Azure Active Directory Premium Plan

This blog post is related to Office365 roles.

I will create a new blog for using PIM with Azure resources, an example could be a workflow that requires financial approval to deploy virtual machines.

When I first set this up I followed the Microsoft guide lines but found it hard to understand how to start protecting privileged roles with PIM
This blog post will outline the steps required to manage some specific Office365 roles.

FIRST STEPS to enable Azure PIM 

Browse to this Microsoft Site – Getting started  with Azure PIM
Complete the following two sections
Enable PIM
Sign up PIM for Azure AD roles

It is critical for an Azure PIM administrator to be  a member of the ‘Privileged Role Administrator’ role so that the admin can assign users for eligibility to relevant roles.

Azure PIM sample use cases with Office365 

Global Administrator
License Administrator
Compliance Administrator ( This is probably the best use case for Azure PIM in Office365)
Exchange Administrator
Sharepoint Administrator
Service Administrator
(Office365 Premier Support tickets now need to be logged through the Office365 admin portal. Support staff only need this role and not global admin)

Add eligible users to privileged roles

The next steps will look at how we can make a user eligible for  privileged role access and some of the options available.

  1. Assigning  a user for eligibility to privileged roles, Browse to the manage section and select settings and then roles
  2. Select the roles that you want to assign eligible users to
  3. Select the options displayed in the image below and add approval users. Not all rules may require MFA enforcement. But some will, like the Global Admin or Compliance Admin Role.
  4. Add Approval Users
    Most admin accounts do not have a license and therefore have no mailbox and cannot receive a mail notification for a request to approve access. It is possible to add approval accounts to ‘Privileged Authentication Administrator’ role and this enables the approval hyperlink within email notification to be re-directed to the Azure PIM request approval portal and approve the request. When Azure Seamless sign on is enabled the approver is directed to the Azure PIM request portal with single sign on and the process can be very quick.

The next steps demonstrate an end user or external guest account requesting access to the Office365 licensing portal.

  1. The user requesting access would click on this URL
  2. The user will then be presented with an Azure page that he\she can request access to their eligible roles.
  3. Then click on the next Activation link
  4. Then fill in the details for the request and select activate
  5. This will then submit an email to a defined approval user, and the approval user will receive an email notification displayed in the image below
  6. The approval user will then be directed to the Azure PIM request portal and can then choose to approve or deny the request.

Auditing

The final section to note is – Azure PIM auditing  is excellent and when Azure PIM is enabled it will send out notifications when users privileges have been elevated in the Office365 portal or Office365 service like Exchange Online or Sharepoint Online. Once PIM is in place the only place roles should be elevated is in Azure PIM and never never use generic admin accounts.


 

Skype for Business – Network password required to connect

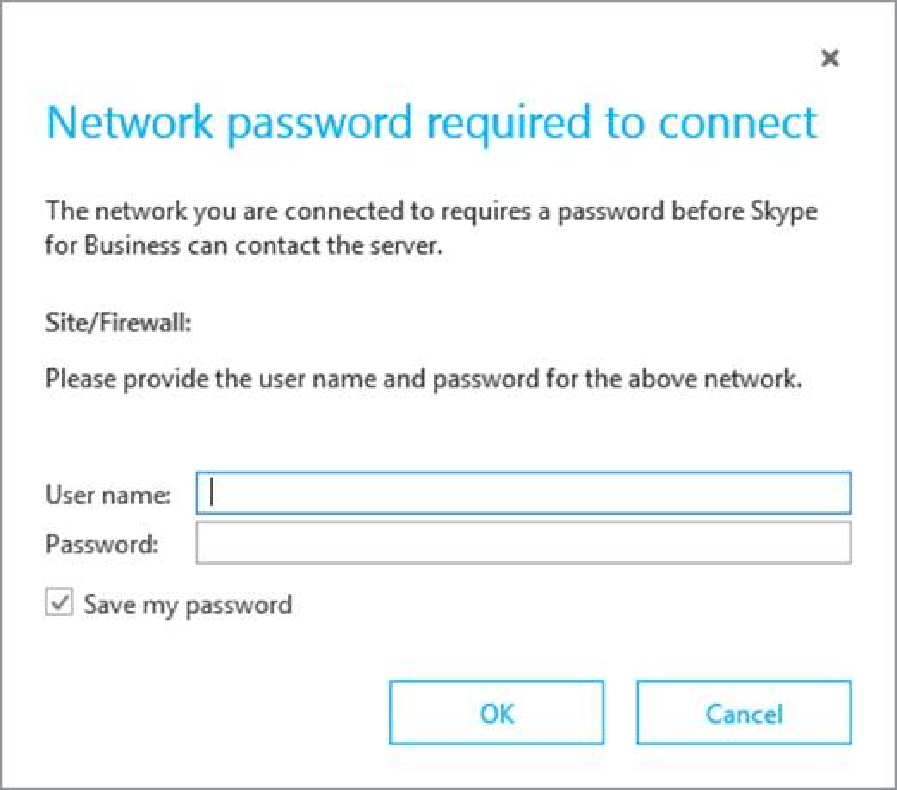
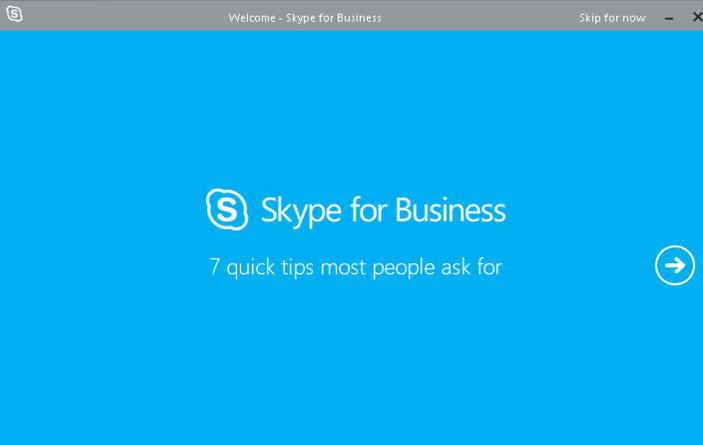
Most enterprises use a corporate proxy to control Internet access for an organisation. Skype for Business makes connections to the Internet to display the tips on start up and this can cause the dreaded error message displayed above and a lot for help desk calls.

So this is how we can stop this from happening

Whitelist the following URS for unauthenticated access


Then we can add the following reg keys via group policy or res workspace depending on the environment.

We then need to create some reg keys.

Open Regedit and go to location HKEY_CURRENT_USER\Software\Microsoft\Office\16.0\Lync 
Create new Dword name “IsBasicTutorialSeenByUser” with value:1 
Create new Dword name TutorialFeatureEnabled with value:0

###############################################################
 HKEY_CURRENT_USER\Software\Microsoft\Office\Common\ClientTelemetry
Name: DisableTelemetry
Type: DWORD
Value: 160000 (Decimal)
######################################################################
[HKEY_LOCAL_MACHINE\Software\Microsoft\Office\16.0\User Settings\ClientTelemetry]
“Count”=dword:00000001
###############################################################
[HKEY_LOCAL_MACHINE\Software\Microsoft\Office\16.0\User Settings\ClientTelemetry\Create\Software\Microsoft\Office\Common\ClientTelemetry]
“DisableTelemetry”=dword:29810
###############################################################
Credit: