Containing a compromised device and remediating it over the one channel the attacker cannot touch.
Part 2 left us with a genuine incident on the lab device. Now we contain it. Device isolation is the response most teams have never actually run, and it is worth understanding what it does before you reach for it in anger.
Isolation is the attacker’s own tactic, turned around
Attackers routinely cut off normal access to a device – disabling Remote Desktop, changing firewall rules, locking out administrators – while they keep their own foothold through a channel nobody is watching. Device isolation is the defender doing exactly that to the attacker. It severs the device from the network so the attacker loses their path in, while the SOC keeps one privileged, out-of-band channel: Live Response. Part 4 shows the attacker’s version of this; here we do it deliberately.
Isolating the device
From the device page, choose Isolate device. Keep it a full isolation – do not tick “Allow Outlook, Teams and Skype”, which would leave those paths open. Add a comment for the audit trail and confirm.
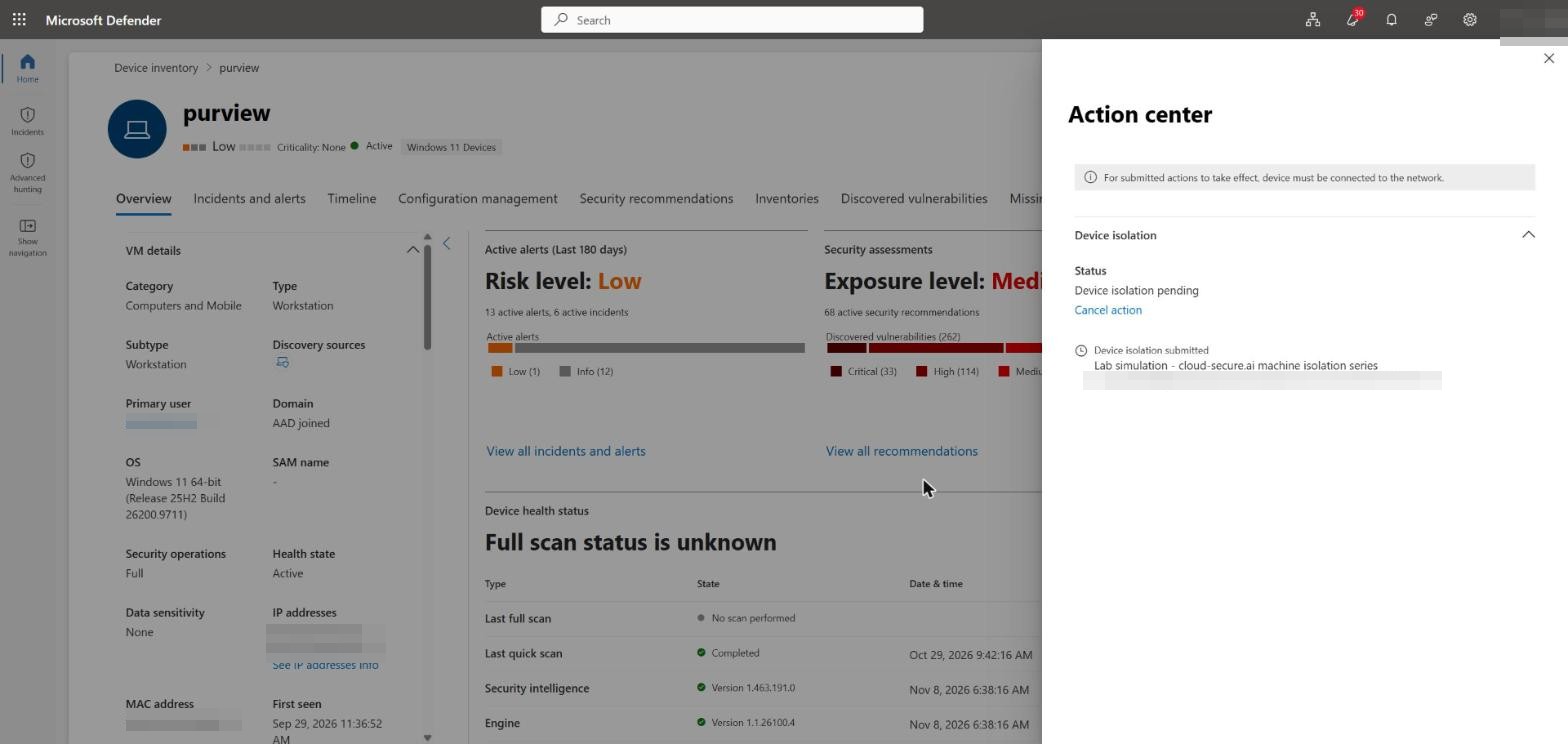
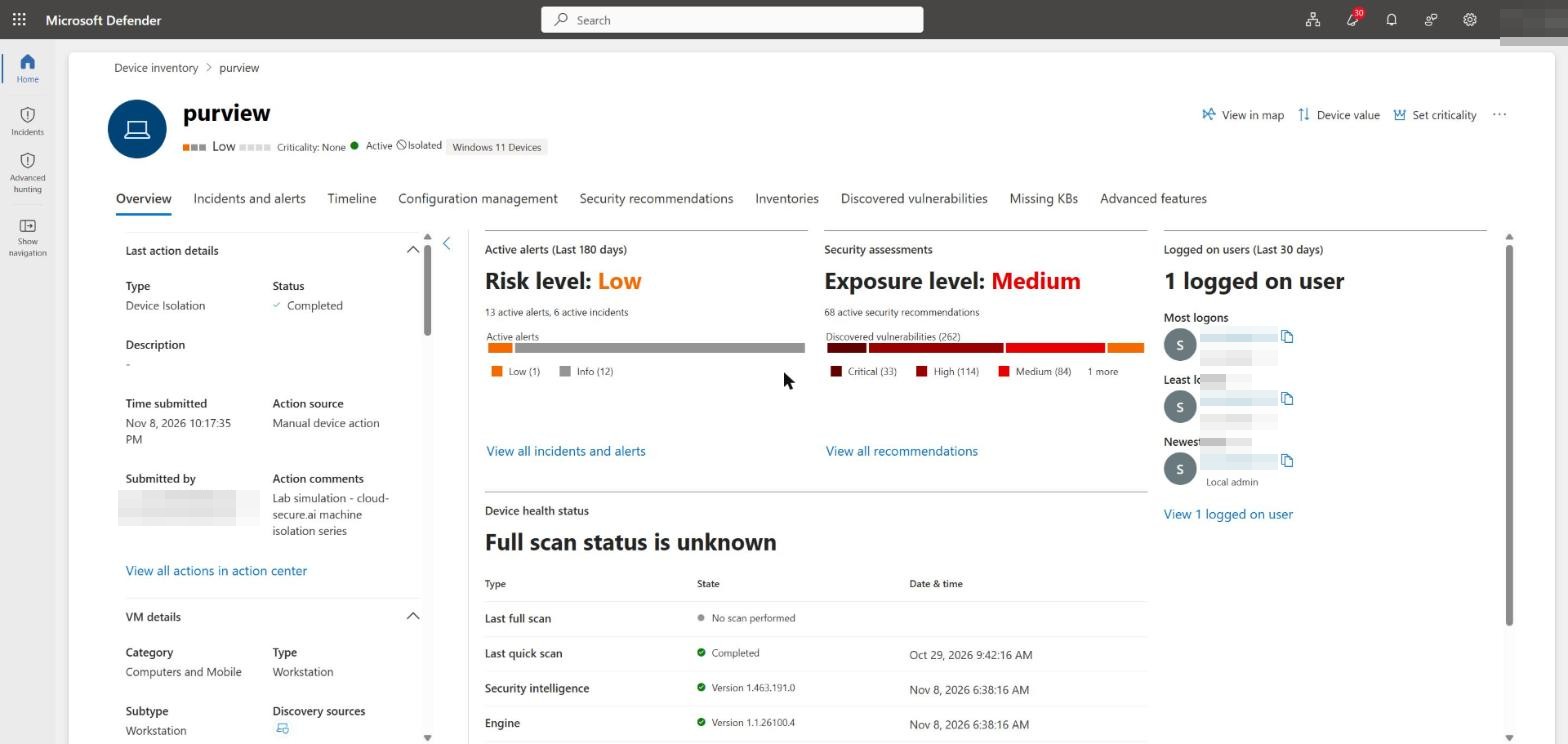
The action moves from pending to completed, and the device carries an Isolated badge. From this point the device can only reach the Defender service.
Access goes dark
Being in Azure does not keep the device reachable. Within seconds of the isolation taking effect, the Remote Desktop session drops and will not reconnect. Bastion and every other inbound path go the same way.
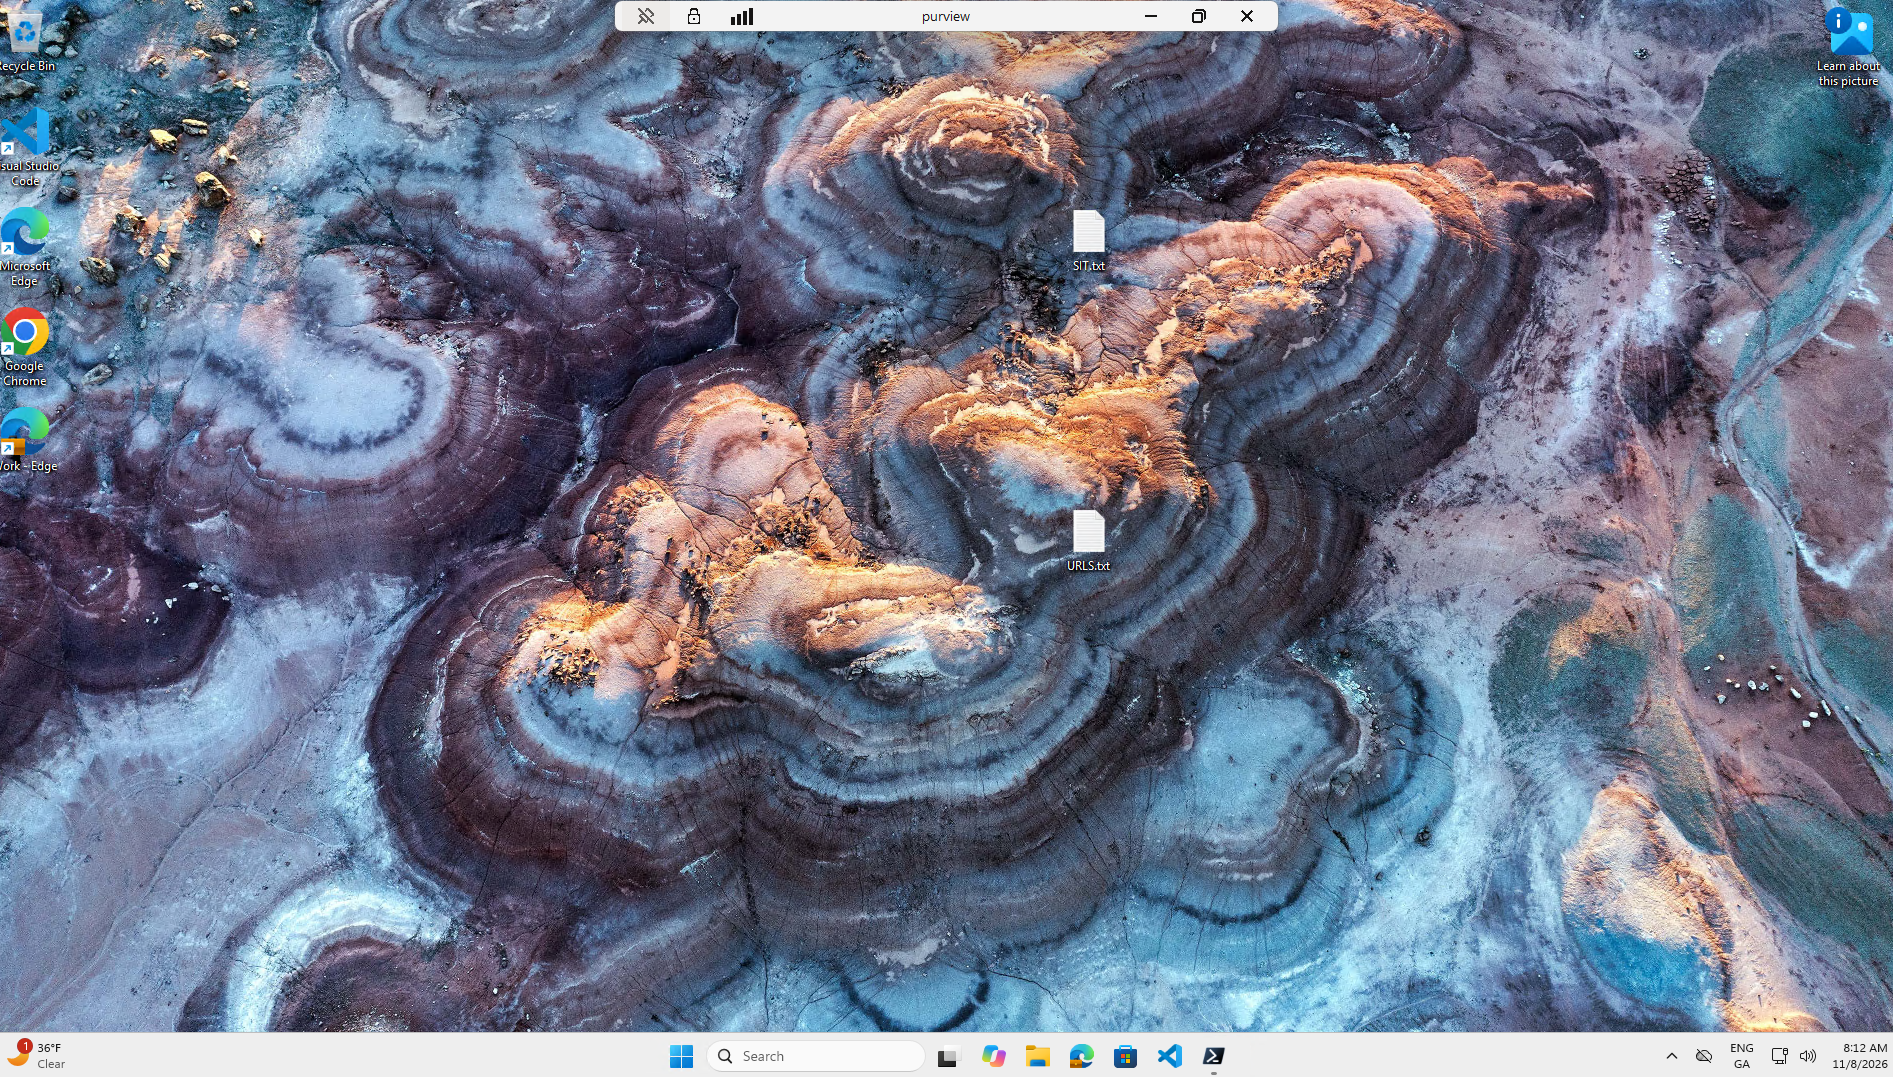
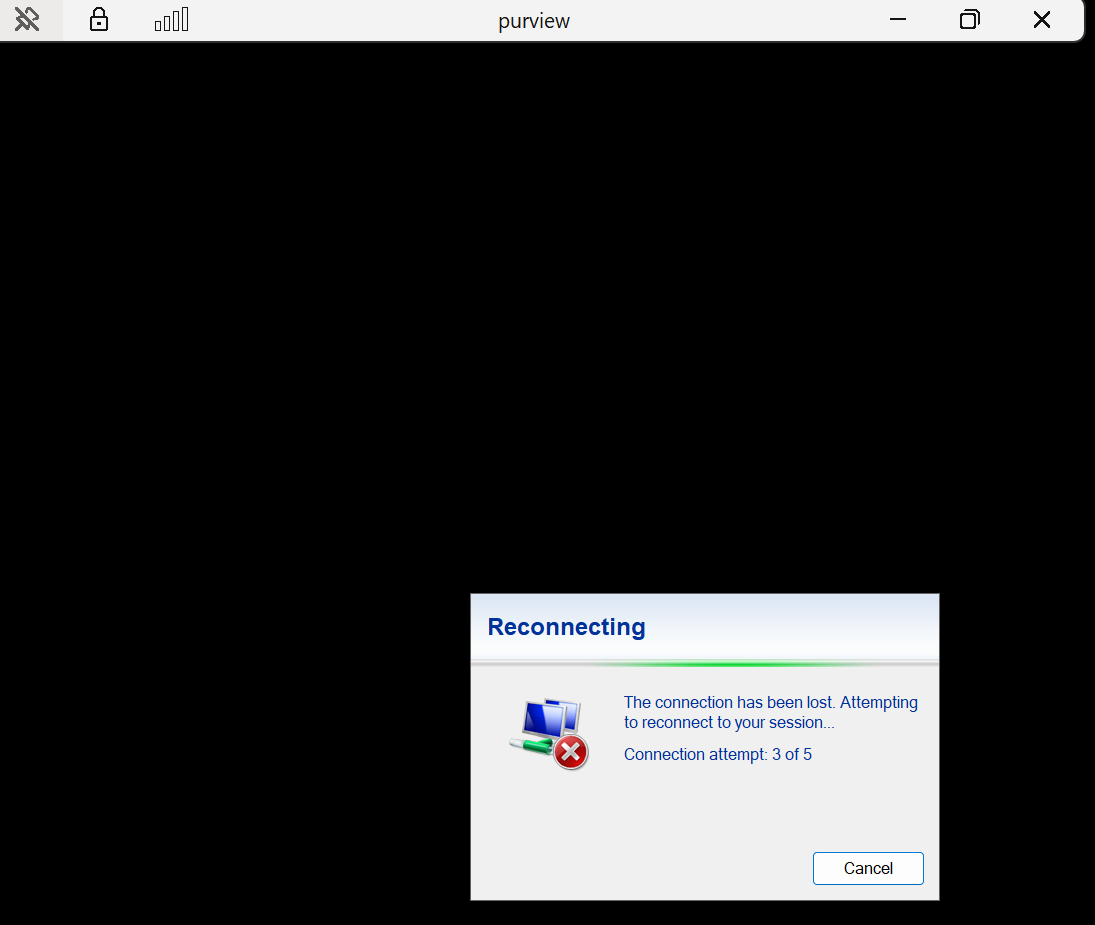
This is where the out-of-band view set up in Part 1 earns its place. The Azure boot diagnostics screenshot shows the device is alive and running, just unreachable – which an on-premises laptop could never show you.
Insert your Azure boot diagnostics console screenshot here.
Investigating over the isolated channel
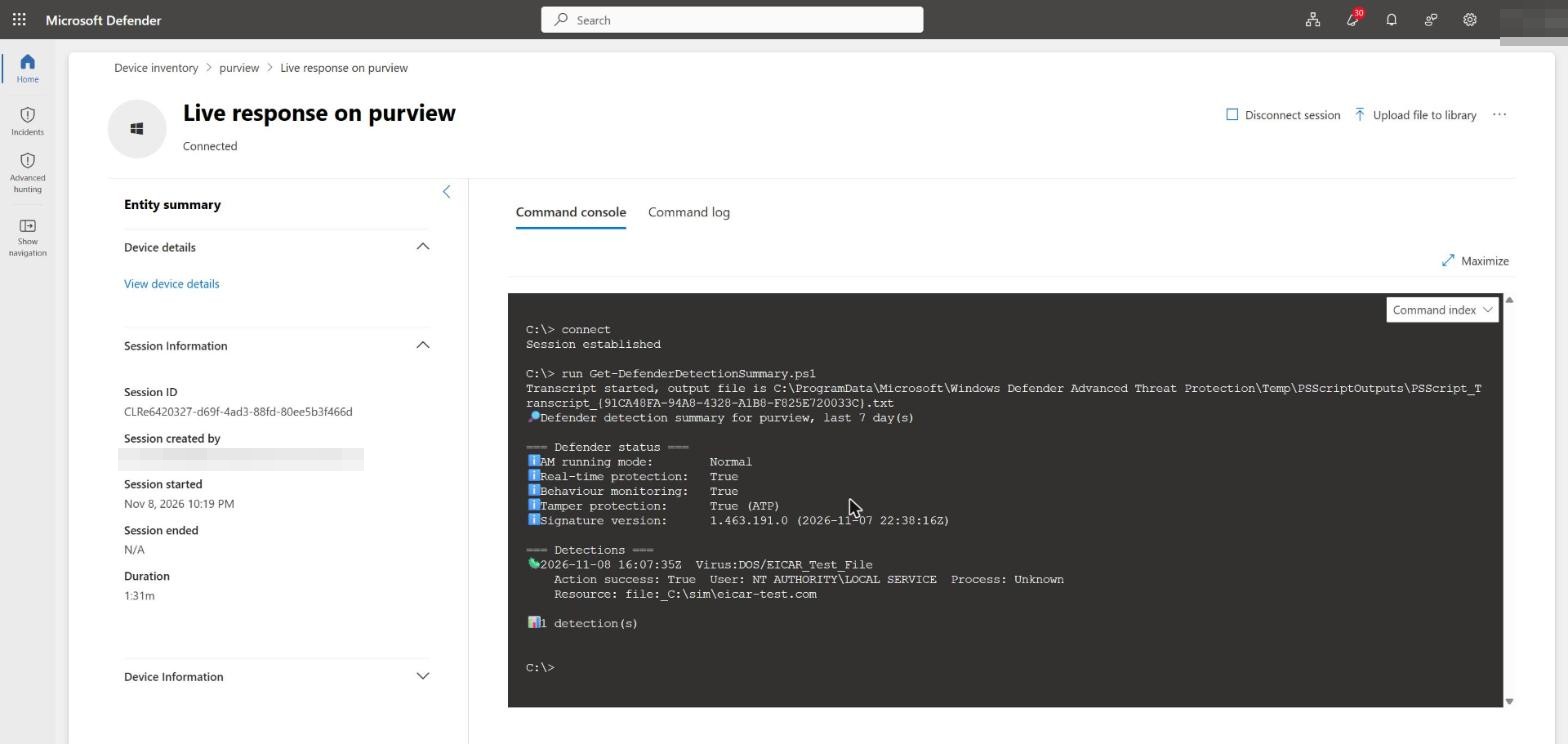
Isolation keeps the device connected to the Defender service, so a Live Response session still works. From the device page, start Live Response – it connects even though nothing else can reach the box.
The scripts staged to the library in Part 1 are ready to run. Get-DefenderDetectionSummary.ps1 pulls the device’s protection state and recent detections, including the one from Part 2, from a device with no other network path.
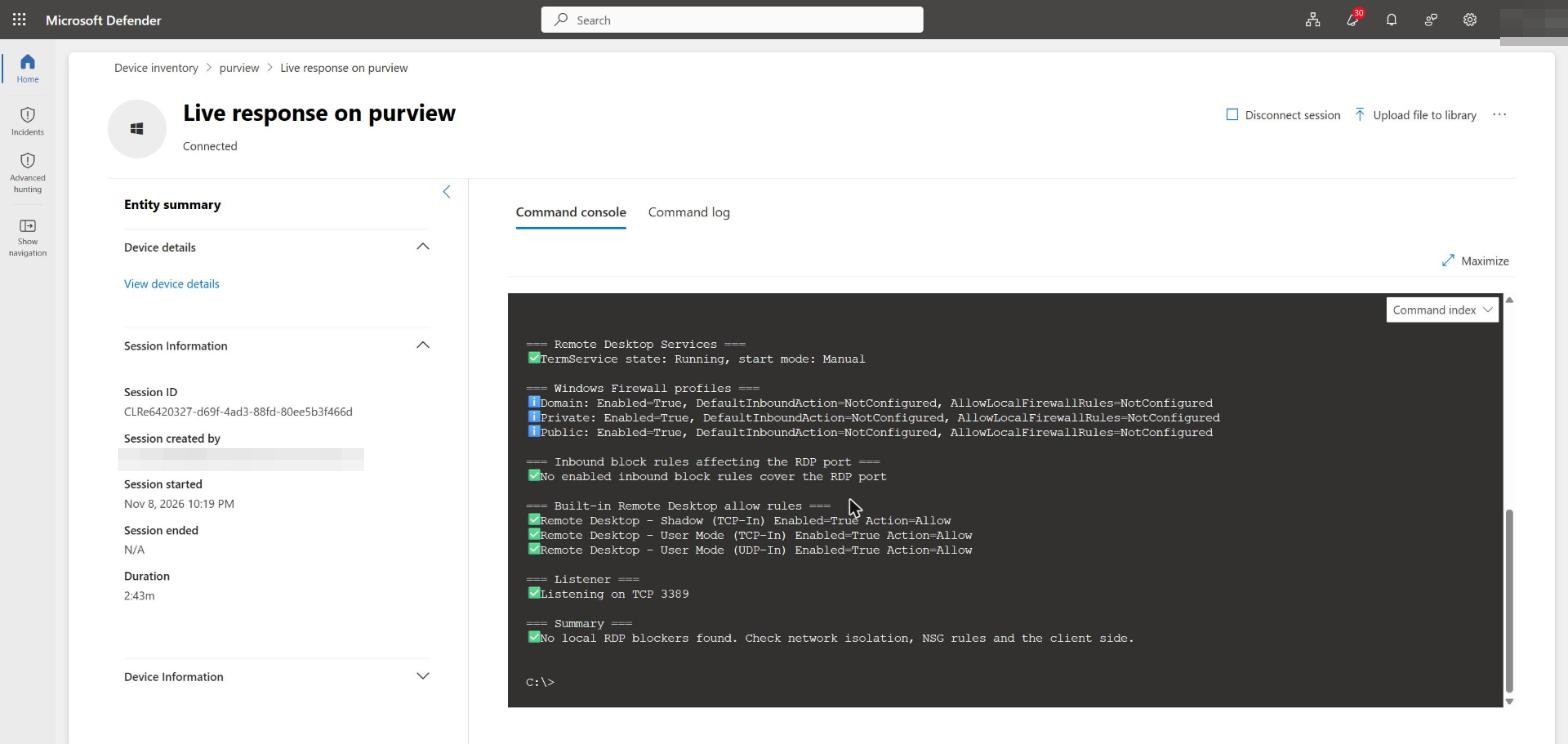
Get-RdpLockoutState.ps1 is worth running here too, because of what it does not find: no local blockers. The RDP failure is purely the network isolation, with nothing wrong on the device itself. Hold that thought – Part 4 is the mirror image.
Remediate, then release
Once the investigation is done and the device is clean, release it from the device actions menu with a comment. The network path returns and Remote Desktop reconnects. The whole arc – isolate, investigate over Live Response, release – takes minutes and never requires physical or network access to the machine.
Next
Part 4 turns this around: the attacker locks the device out of Remote Desktop locally, with the device still on the network, and we recover it over the same Live Response channel.

