I have done quite a few Lotus Notes to Exchange online migrations using Quest’s Notes for Exchange migration toolkit.
One of my favorite features is the admin pool.
So what is the admin pool? The admin pool creates a pool of global administrators that can be used for migrations as Microsoft throttle the amount of data that can be migrated per user name. An example of an admin pool is displayed below.
This feature works great when migrating to a Wave 14 Exchange online tenant but not so well when migrating to a Wave 15 tenant.If you want to use an admin pool to migrate to a wave 15 you need to submit a service request to Microsoft and below is an extract with the instructions from Quest.
Microsoft has informed our Product Team that they are changing the procedure for requesting exemption to the PowerShell throttling.
Each Tenant Admin, as an Office365 customer, please submit a service request individually. Microsoft would like to receive requests directly from the Tenant Admin.
The Tenant Admin should open a service request and reference “Bemis Article: 2835021”. The Microsoft Product Group would also need following information in the request:
1. The tenant domain (tenant.onmicrosoft.com)
2. The version of Exchange (These requests should all be for Wave15)
3. The number of mailboxes that are being migrated
4. The number of concurrent admins accounts that will be used for the migration
5. The number of concurrent threads that will be in use
6. The number of runSpaces will be created per minute
7. The proposed limit (powershellMaxTenantRunspaces, powershellMaxConcurrency, etc.) and number to increase the limit to
For items 6 and 7, Tenant Admin may probably need to take the total number of threads across all migration machines that you plan to use and add a buffer because it is not easy to know in advance how the timing of the runSpaces will occur.
As a result, it may be safe to assume that all potential runSpaces could be created within a minute, so 6 & 7 should probably both be submitted as the total number.
More Information About # 6 & 7
If there are 5 migration consoles designated for the migration and running 3 threads each, it is safe to assume that you may have 15 runSpaces created per minute.
In case of you may decide to increase threads or add migration consoles later, even it is safe to assume that you may have 15 runSpaces per minute, to provide a buffer, you may want to ask 25 or 50 (each) powershellMaxTenantRunspaces, powershellMaxConcurrency, etc.
Microsoft will only do this for a minimum of 1000 users that are migrating to Exchange online.
So the way I got around it was by doing the following.In this instance there were 3 nme migration machines.
- Create New-ManagementRoleAssignment -Role “ApplicationImpersonation” –User admin@contoso.onmicrosoft.com
- Then create 3 nmeadmin accounts and assign an exchange online license to each account.
nmeadmin1@contoso.onmicrosoft.com
nmeadmin2@contoso.onmicrosoft.com
nmeadmin3@contoso.onmicrosoft.com
- Install the Windows Azure Directory module for powershell on each nme machine which you can download HERE
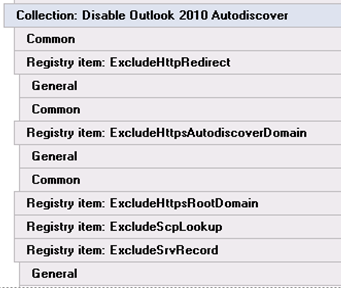
- Create an Admin Role called Quest , add in the following roles
Application Impersonation & Migration as per the image below

- Add the 3 nmeadmin accounts as members to this role.
- Add the 3 nmeadmin accounts as members to the Organization Management – Admin Role
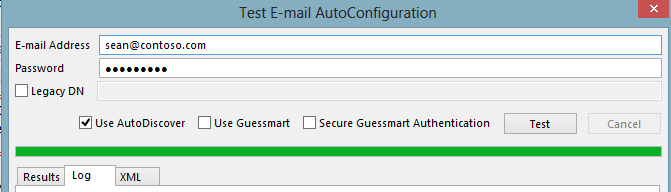
- On each of the nmeadmin machines configure an Outlook client for each of the nemadmin accounts. So one account per machine and do not enable caching.
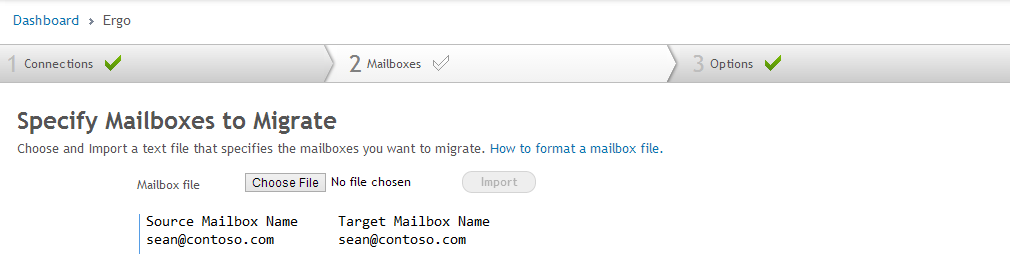
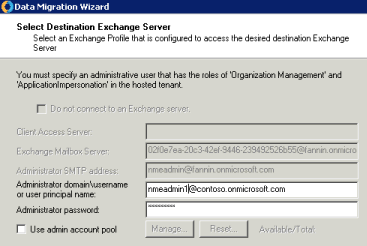
- So when you come to the point of migrating enter nmeadmin1 credentials into the migration wizard on machine1 , nmeadmin2 credentials on machine2 and nmeadmin3 credentials on machine 3 as per the image below.

This will then allow you to migrate from Lotus notes to Exchange online wave 15. I am sure Quest will resolve the admin pool issue as it is such a cool feature and really speeds up for migrations.
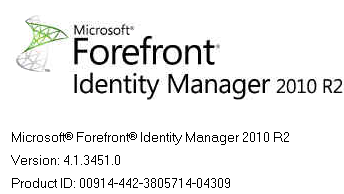
At the time of writing this post this relates to Quest NME version 4.7.0.82 displayed below.